

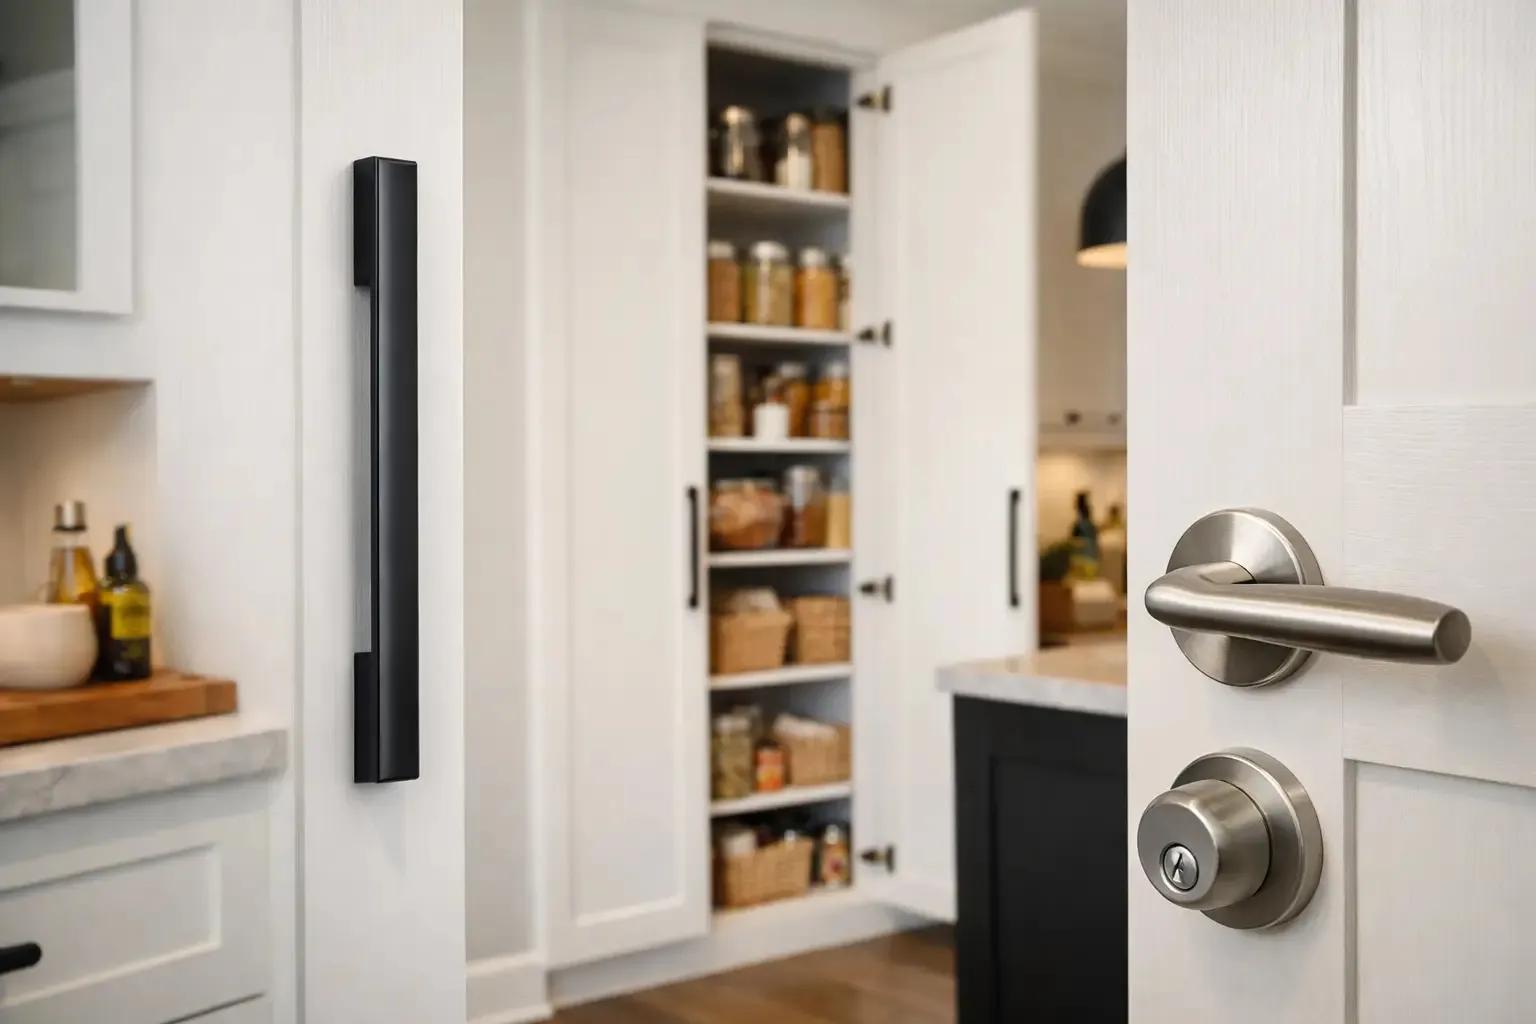
Cabinet Hardware
Changing your cabinet hardware is one of the fastest and cheapest ways to make your kitchen or bathroom look new again. You do not need to be a builder or hire anyone. With a few basic tools and about an hour of free time, you can swap out old, tired knobs and pulls for something you actually like.
Quick Answer: How to Replace Cabinet Hardware
To replace cabinet hardware, remove the old knob or pull by unscrewing it from the back of the door or drawer, then attach the new piece using the same holes or new ones you mark and drill. Most swaps take less than five minutes per cabinet.
Gather your tools (screwdriver, tape measure, drill if needed)
Remove the old hardware
Check if the new hardware fits the old holes
Mark and drill new holes if needed
Attach the new hardware and tighten the screws
Step back and check that everything lines up evenly
That is the whole job in a nutshell. Now let's walk through each step in more detail, along with a few tips that save time and avoid mistakes.
Why Replacing Cabinet Hardware Makes Such a Big Difference
Cabinet hardware is like jewelry for your kitchen. It is a small part, but people notice it right away. Old, dull, or mismatched knobs can make even a clean kitchen look outdated. Swapping in new pieces is one of the few home upgrades where a small amount of money and time gives you a result that looks like a full renovation.
This is also one of the safest DIY projects in the whole house. You are not dealing with wiring, plumbing, or anything that can flood or shock you. Worst case, you patch a hole and try again. That low risk is exactly why this project is a great place to start if you are new to DIY work.
Tools You Will Need
You do not need a workshop full of tools for this job. Here is what most people already have or can pick up cheaply:
A screwdriver (manual or a drill with a screwdriver bit), a tape measure, a pencil, and painter's tape. If your new hardware uses different hole spacing than your old hardware, you will also want a drill and a template or jig, which many hardware brands include with their pulls.
Step-by-Step: How to Replace Cabinet Hardware
Step 1: Remove the Old Hardware
Open the cabinet door or drawer so you can see the back side. Most knobs and pulls are held on by one or two screws going through the wood into the hardware. Unscrew them and set the old piece and screws aside. Keep a small cup nearby so screws do not roll away and get lost.
Step 2: Check the Hole Spacing
This step matters most if you are switching from a knob to a pull, or getting a pull with different spacing than your old one. Knobs use a single hole. Pulls use two holes spaced a set distance apart, usually written on the product page as "center to center." If your new hardware matches your old holes exactly, you can skip drilling and go straight to attaching it.
Step 3: Mark New Holes if Needed
If the spacing is different, you will need new holes. Most new hardware comes with a paper or plastic template. Tape the template to the door or drawer in the spot you want, then use a pencil or awl to mark where each hole should go. Many people also use a simple jig tool that clips onto the edge of the cabinet, which keeps every knob or pull lined up at the same height across the whole kitchen.
Step 4: Drill the New Holes
Use a drill bit slightly larger than your screw, usually 3/16 inch for cabinet hardware. Go slow and keep the drill straight so the hole does not come out crooked on the front face. If you are worried about splintering, place a scrap piece of wood behind the door before you drill through.
Step 5: Attach the New Hardware
Line up the new knob or pull with the holes and push the screws through from the back. Tighten them by hand first, then finish with a screwdriver so you do not overtighten and crack the wood. Check that the hardware sits flat and does not wiggle.
Step 6: Fix Old Holes if Your Spacing Changed
If your new hardware does not cover the old holes, you have two easy options. You can fill the hole with wood filler, sand it smooth, and touch up the paint. Or, many people choose a backplate, which is a small decorative piece that sits behind the knob or pull and hides any old marks underneath.
Choosing the Right New Cabinet Hardware
This is the fun part. Before you start unscrewing anything, pick your new hardware so you know what tools and hole spacing you are working with.
If you want something that stands out without being loud, half moon brass hardware is a popular choice right now. The curved shape feels warm and a little different from the standard round knob, and it pairs well with both modern and classic kitchens. Among these styles, the best half round cabinet pulls tend to be the ones with a slightly raised profile, since they are easier to grip with wet or full hands while cooking.
If you want a piece with more texture and a handmade feel, look at options like this designer cabinet hardware leather and brass pull, which mixes a soft material with a durable metal base for a look that ages well over time.
For anyone updating a whole kitchen, it helps to shop from a single collection so every piece matches in finish and style. A dedicated cabinet hardware source makes this part simple, since everything is grouped by size, finish, and shape in one place.
Common Mistakes to Avoid
The most common mistake is not measuring first. Always measure your current hole spacing and compare it to the new hardware before you buy a full set. The second most common mistake is rushing the drilling step. A crooked hole is hard to hide, so take your time and use a template or jig. Last, avoid mixing finishes that clash, like shiny chrome next to warm brass, unless that contrast is a look you are going for on purpose.
Final Thoughts
Replacing cabinet hardware yourself is one of the easiest home upgrades you can make, and it gives you a real, visible result the same day. Measure twice, pick hardware you will still love in five years, and take your time with the drill, and you will end up with a kitchen that feels brand new for a fraction of the cost of a full remodel.
Frequently Asked Questions
Do I need a drill to replace cabinet hardware?
Not always. If your new hardware matches your old hole spacing, a screwdriver is all you need.
How long does it take to replace cabinet hardware in a whole kitchen?
For an average kitchen with 20 to 30 pieces, most people finish in two to three hours, including drilling new holes.
Can I reuse the old screws?
Usually not. New hardware almost always comes with its own screws sized for the material and thickness of your doors.